
Understanding the Essentials of 3D Printing for D&D Models
To successfully print a gold dragon model for your Dungeons & dragons campaign, it’s essential to grasp the fundamentals of 3D printing technology. Start by choosing the right printer for your needs; FDM (Fused Deposition Modeling) printers are popular for tabletop models due to their affordability and ease of use. Consider the resolution and print speed as well, as these factors significantly impact the model’s detail. Additionally, select a suitable filament—PLA is frequently enough recommended for beginners due to its user-friendliness and eco-friendliness, while higher-end options such as PETG or ABS may offer better durability.
Next, prepare your 3D model by using software like Ultimaker Cura or PrusaSlicer to slice your dragon design into manageable layers that the printer can understand. Pay close attention to the settings to enhance print quality; adjust layer height, infill density, and support structures for better results. Once set up, don’t forget to perform a test print of smaller pieces to fine-tune your printer’s parameters. this iterative process will ensure that when you’re ready to print the full gold dragon, the result will be both impressive and ready for your next epic encounter.
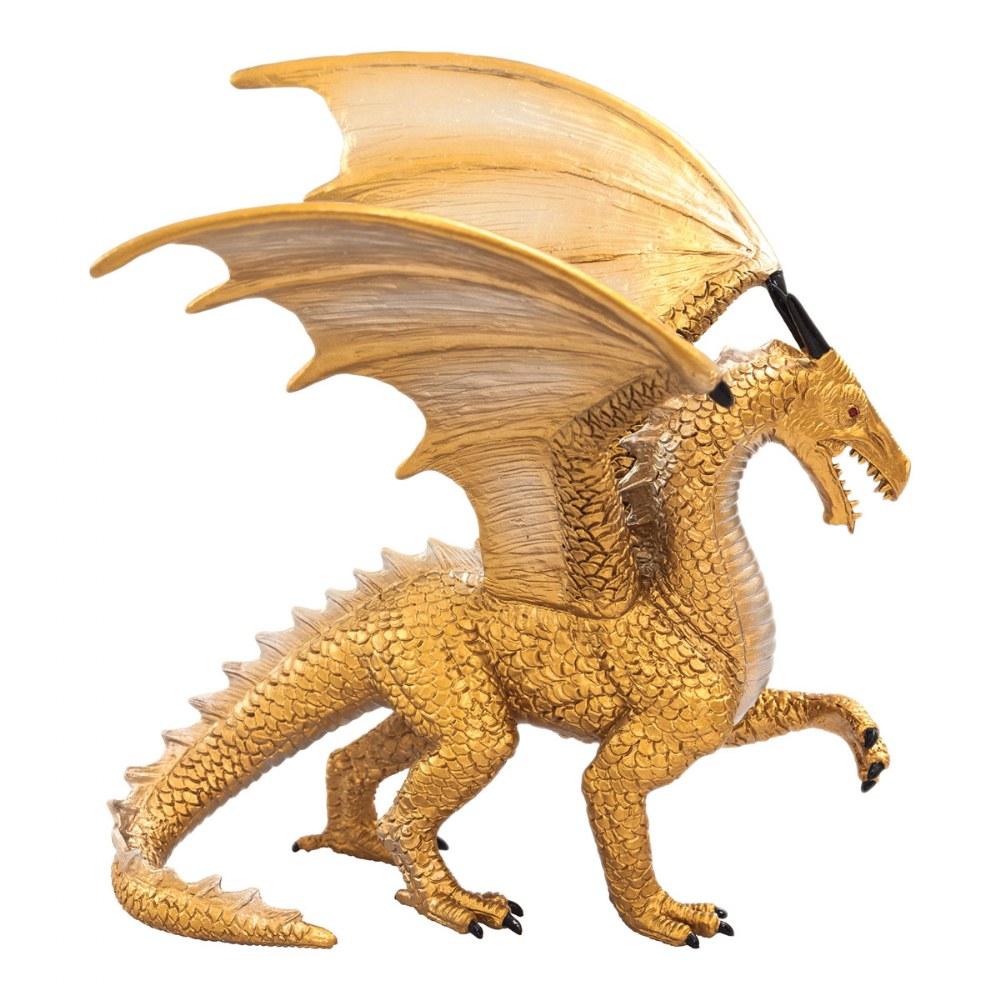
Selecting the Right Materials and Settings for a Stunning Gold Dragon
When bringing a gold dragon to life through 3D printing, the choice of materials is crucial to achieving the desired level of detail and brilliance. PLA (Polylactic Acid) is a popular choice for beginners due to its ease of use and availability in metallic shades that can mimic the shimmering nature of gold.Though, for those who are deep into the hobby, ASA (Acrylonitrile Styrene Acrylate) or PETG (Polyethylene Terephthalate Glycol) are excellent alternatives. They offer enhanced durability and UV resistance, ensuring that your creation can withstand the test of time while maintaining that striking appearance. Remember to also consider the final paint finishes, such as metallic spray paints or gold leafing, which can radically enhance the overall look and feel of the printed dragon.
Equally significant is the printing settings you choose. For a highly detailed model like a gold dragon, adjust your layer height to 0.1mm for optimal resolution, allowing the intricate scales and features to be defined crisply. A slower printing speed—around 40 to 50 mm/s—will give the printer more time to accurately deposit each layer, ensuring that fine details are not lost. In addition, make sure to utilize a heated bed set at approximately 60°C to minimize warping and achieve a better adhesion of the model. Utilizing supports may also be necessary for complex parts; design them thoughtfully to ensure they can be removed cleanly without damaging the delicate structures of your golden beast.
Step-by-Step Guide to Smoothing and Finishing Your Print
Once your D&D gold dragon has finished printing, the next phase is crucial for enhancing its appearance. Start by carefully removing the print from the build plate. Use a spatula or a scraper to gently pry it off, ensuring you avoid any damage to your model.afterward,inspect for any visible supports or rough edges that may have formed during the printing process. To tackle these imperfections, utilize a fine-grit sandpaper or a file. Make sure to wear a mask when sanding to avoid inhaling any plastic particles.
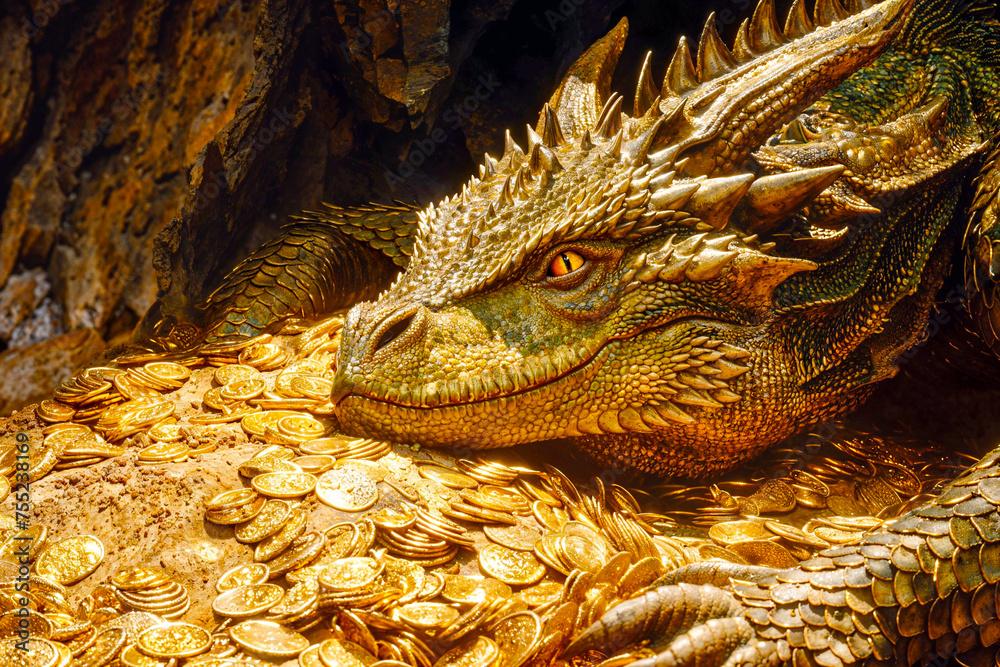
Following the sanding process, it’s time to achieve that perfect finish. First, wash the model with warm soapy water to remove any remaining dust or debris. Once dry, consider applying a primer spray designed for plastics; this will not only enhance the overall adhesion of paints but also help to smooth out any minor imperfections.After priming, you can opt for a metallic finish with gold paint or any other desired colors.Layer the paint gradually, allowing each coat to dry thoroughly. Finish with a clear coat to protect your work of art, providing a glossy sheen that mimics the reflective qualities of an actual gold dragon.
Tips for Painting and Detailing Your D&D Gold Dragon Model
When it comes to bringing your D&D gold dragon model to life, attention to detail is key. Start by thoroughly cleaning the printed model with warm soapy water to remove any residues from the printing process. Once dry, consider priming the model with a high-quality primer to help the paint adhere better. For an authentic look, use a gold base coat, ensuring even coverage to create a foundation that shines through. After the base coat, apply a wash in a darker shade of gold or brown to accentuate the scales and detailed features. This technique will add depth and make your dragon appear more lifelike.
Detailing is where your creativity can truly shine. Use fine-tipped brushes for intricate areas, such as the eyes and claws, applying contrasting colors like red or blue for a striking appearance. To enhance the wings, consider dry brushing with a lighter shade of gold or a metallic silver to give them a shimmering effect. Don’t forget to varnish your finished model with a clear coat to protect it from damage and provide a polished look. Additionally, if you want to create a more dynamic display, think about adding scenery elements like rocks or foliage to emphasize your dragon’s majesty. This attention to detail will create a stunning centerpiece for your tabletop games.