In Minecraft, if you feel bored while climbing the ladder up and down, you can build a water elevator to make life easier. Having an elevator will make traveling around the house effortless. Making an elevator isn’t that hard-Just some Redstone technology and a few others.
So, In this article, we will make an elevator that will lift you to the top-down, but this elevator doesn’t use Redstone- It is simple and efficient.
How does the water elevator work in this game?
A water elevator is a machine that uses water as a medium to take you to the top and down. The working mechanism of the Minecraft lift is simple- While going to the up, the water gets heated by the magma block to send you upwards. You can go both up and down from it.
Steps of making water elevator in Minecraft
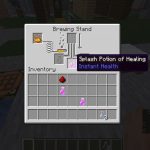
The materials required to make a water elevator(lift) are 2 doors, 2 stacks of glass blocks, soul sand, a magma block, some kelp, 2 water buckets, 4 signboards.
Step 1
Choose the location you want to take the elevator in and surround the block with glass blocks until you reach the height of the elevator you want.

Step 2
After you reach the needed height, go to the top and add a bucket of water into the hole.

Step 3
The next step is to go to the bottom of the hole and plant kelp all the way to the top. It ensures that air bubbles can travel to the top of the glass pillar.

Step 4
After placing kelp, go down the bottom of the hole again. Then destroy the bottom block, along with all the kelp, and replace the bottom block with soul sand. As soon as you place the soul sand, the air bubbles will rise, and you will get pushed to the top.

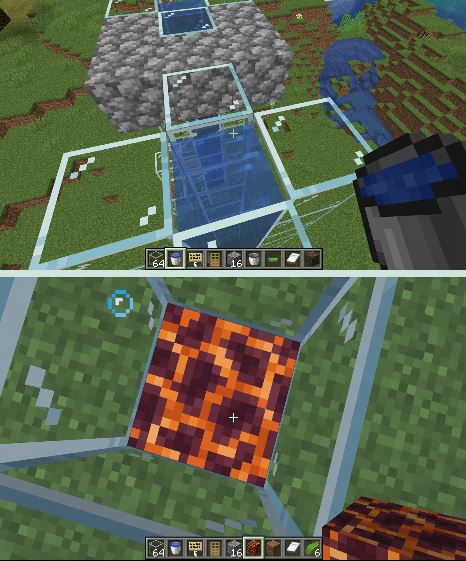
The picture below is an example of what happens when you do not use kelp. There won’t be air bubbles coming out, and you won’t get pushed to the top.

Step 5
Now the Minecraft lift is almost ready. The thing left is to make an entrance. Go outside of the hole, then place two glass blocks at the side of where you want to make the entrance.

Step 6
Break 2 glass blocks in the middle and place two signboards at the side. The signboards prevent the water from going out.

Step 7
Put a door in front and cover the place with some glass blocks.

So, your Minecraft elevator is ready to lift you to the top. Now for the elevator to go down.
Step 8
The design of this is the same. Just beside this elevator, make another glass pillar-like before, with the hole in the center. Make a bridge between the two. Then place water at the top and place kelp in the hole to the top. Destroy the bottom block and kelp. But instead of soul sand, place down a magma block. (In Minecraft, You can find magma blocks on deep oceans floors.)
Step 9
Break the middle glass blocks and put 2 signboards as the first one and make an entrance like before.

There, you successfully build a working water elevator in Minecraft, and now it will lift you up and down anytime.